Craft Ideas for Kids | Giant Freestyle Window Stars

Shh! These are much easier than they look!
I wanted to try something a bit different this year. I love the classic rainbow wheel, but I was curious to see what it would look like if the colours were rainbowing from the centre of the star outwards instead. They've all been made with the same simple fold in different sizes, just added in layers.
You will need: Kite paper, A knife or scissors for cutting, Glue, Sticky tack or Tape for putting them up.

The paper I mostly used was from the 22cm squared book. This makes things so easy because you just fold it in half and cut until you get down to the size you want.

If you are completely new to Window Stars you may wish to have a look at this Beginners Window Stars blog first. The fold in that blog is very simple, best suited to younger children, and you can easily use it to make the Giant Freestyle Window Stars. I have used a slightly more intricate fold, which I learnt from this amazing book, and it allows you to get twice as many star points out of your paper. The steps of the fold are as follows:

Fold in half lengthways to make a crease, open up and fold the points of all four corners into the crease, then take the new bottom two corners and fold them into the crease again.
With 11 colours in the pack and three sizes of paper to choose from, there are so many options available to you when it comes to creating your stars. I never knew how mine were going to turn out. Here are my experiments:
1. Small > Large Graduating up in size in sections
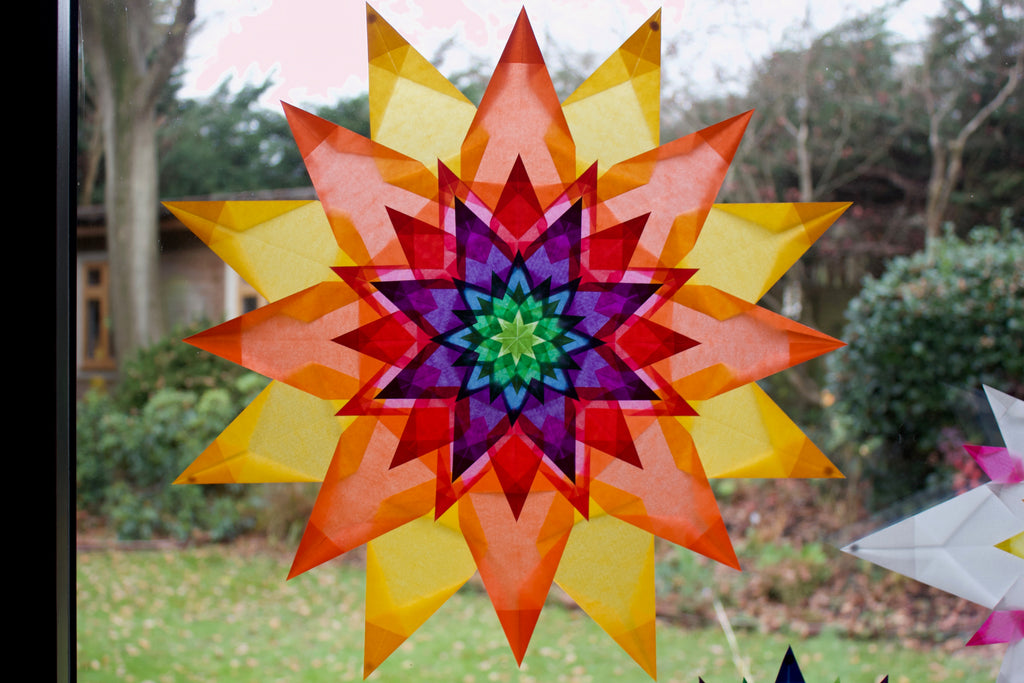
One of the most simple and it turned out so beautifully. 3 layers of small, 3 of medium and 2 of large. 46cm in diameter. (This star was actually made using the remnants of my 16cm squared book so using the 22cm book it would be even bigger).
2. Large > Small Graduating from large to medium points
The easiest one for younger children to make by themselves

Well, as you can see I only did 1 layer of the large points as it turned out so big! Then 2 layers of medium points around the outside, and a small one in the middle as it was looking a bit bare. 55.5cm in diameter.
3. Alternate Small + Medium

I wish I'd started this with the medium size so that the light wasn't blocked from the centre. Really happy with the shape and pattern though. 44.5cm in diameter.
4. All the same size Or at least that was the plan

Sticking with the same size for as long as possible makes the centre of this star so beautifully intricate. You then get to a point where if you want to add more layers without blocking light you need to leave gaps between the points, which I LOVE! 5 layers of small, 2 layers of medium, followed by a final layer of small. 38cm in diameter.
5. Anything goes

I was getting a bit worried that the stars were looking more like mandalas so I played around with the points here. I'm not sure that this star is finished... Maybe a bit more yellow? Or another point at the bottom to make it like a star of Bethlehem? Currently 44.5cm in diameter.
There are so many different combinations to be made, I'm finding it hard to stop! But, as always, there is another exciting idea to work on, so for now I am handing the window star baton over to you.

Add beauty to your home and inspire those around you to do the same.
