Beech Nut Pixies

This craft idea was passed on to me by a very talented mum who was sharing her skills and ideas with other parents in preparation for our school advent fair, around this time of year but several years ago. I remember being so excited by the amazing creations made from things that had fallen from trees, and discovering how crafting together is a wonderful way of getting to know people.
I haven't come across this idea anywhere else since, so it's with great pleasure that I share my friend's idea with you now.
You will need: Beech nut caps, Felt, Wooden beads, Glue, Paper/Card, Pencil, Scissors, Needle, Thread

1. Create a little template for yourself by copying the following shape. I've given you some measurements but don't worry about being too exact, or indeed modifying, as the pixies all turn out differently anyway depending on the shape of the beech nut cap.

2. Draw around your template on some felt and cut out a little cape for your pixie.

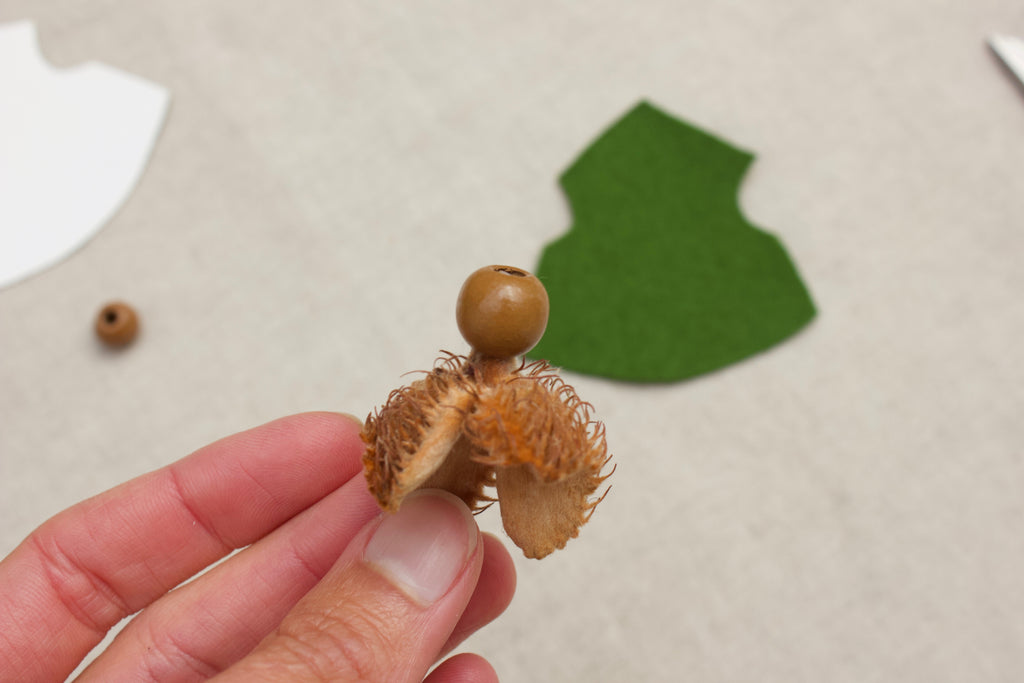
The round wooden beads in the set I used come in 4 sizes, and I picked out the larger 3 as options for head sizes for the pixies.

3. Dab some glue around the stem of your beech nut cap and then put a bead on it.
4. Whilst you are waiting for your glue to set start sewing up your pixie's cape. I tied a knot at the bottom of my thread and started on the inside of the top of the hood, with enough thread to use for the hanging loop too.

5. Once the edges of the hood are all stitched up you can take the thread inside and out through the point at the top, so that you have something to hang your pixie up with.

6. Bring your felt and your beech nut cap together and let the magic happen!

7. Now all you need is a little stitch under the bead to help keep the cape on, though it seems that a lot of the work is done by the felt sticking to the prickles. I decided to tie a little bow under my pixie's chin with some embroidery thread.

Seeing my little pixie hanging up I felt it looked a little too shy, so I decided to make the next one with a larger bead. It definitely looks a lot bolder!

Soon the pixies were queueing up for a new outfit for Autumn.

And I was happy to oblige!


And of course, aside from bringing your nature table to life, these pixies can really stand out on a Christmas tree in capes of white and red.

For the clasps on these capes I repurposed some beads from an old necklace, and I think the sparkly thread makes all the difference!
I hope this blog gets you excited about crafting with what you might come across on your autumn walks, and I have one more suggestion for you: set up a craft group where you can make things with friends over a cup of tea, and bring the sharing of creativity into your friendships this festive season.
