Ukrainian Inspired Easter Eggs

Materials:
- Eggs
- Vinegar
- Glass jar
- Pencil
- Glass head pin (plastic will melt so make sure its glass)
- Tea light
- Natural Egg dye
- Hair blow dryer
- Paper towel

Wash your eggs carefully with a bit of vinegar and allow to dry completely before you begin.
Use your pencil to draw a simple pattern on your eggs based on dots as you will be “painting” it with a glass head pin.

If you are doing this with small children, you can skip the drawing and just let them explore their own creativity. Polka dots all around look gorgeous!
Back to the tealight: Pick up your glass head pin and stick it onto the back of a pencil to make it longer and easier to work with. We will now start painting over your design with the wax. Bring your tealight close to your egg. Start dipping the head of your pin into the melted wax and filling in your design.

Wax dries incredibly quick so you will probably be doing one dot at a time, but you will be working faster than you would expect! It might take a bit to get the hang of it, but once you find your rhythm go with the flow! As I was working in silence with my daughter, we could hear the clock ticking in the background and soon realised we were both working at exactly the pace of 2 seconds: 1 dip in in wax, 2 paint the egg. Pretty quickly we were both done and wanted more!


Once you have finished your design, it’s time to dye! Carefully dip your eggs in the dye. Take out once they’ve reached the depth of colour you want and leave to dry. Make sure you drain the egg completely before moving on.

Once they are completely dry, we will remove the wax with the hairdryer. This magical process was fascinating for the little ones to experience. Get them involved but be careful as it will get quite hot! Take one egg at a time and start drying. As the warm air heats the eggshell, the wax will start melting away. Use a paper towel to gently rub the surface of the egg spreading the wax evenly over the eggshell. The melted wax will become a varnish, leaving the surface smooth and shiny.


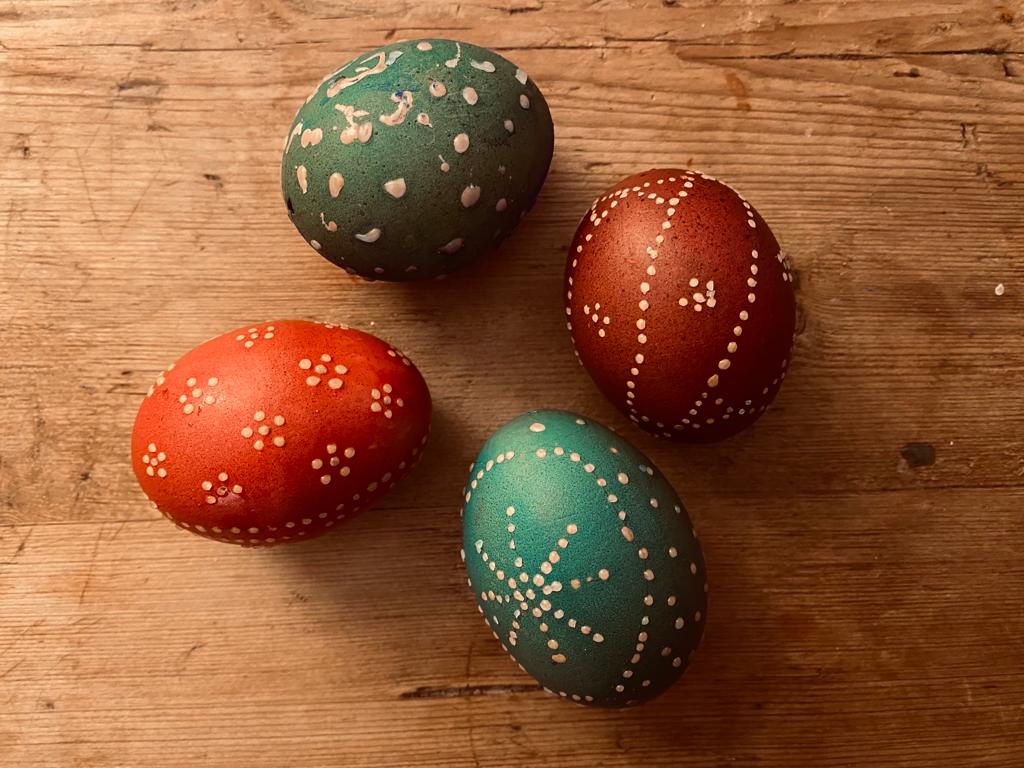
Your beautiful eggs are finished! As always, these are just suggestions and ideas of what has worked for us. The possibilities are endless! The more you make, the more confident you will get and you will be surprised by the results. We played around dipping the eggs in different colours after removing the wax giving a tie-dye effect.


I used brown eggs, and they worked fine for darker colours bur next time, I’m getting white eggs and try dyeing them first thing in a light colour, then drawing, add wax and dye again. And maybe even a third time!
I hope you this has inspired you to try it out for yourself and experiment beyond. If you enjoyed this, why not take it a step further using this Pysanky Egg Decorating Kit or this one. You can find a helpful tutorial on how to use them here.
And make sure you check out Rebecca’s wonderful article with plenty of creative ideas for Easter crafts for kids.
